Making a 3d game in assembly September and October 2020
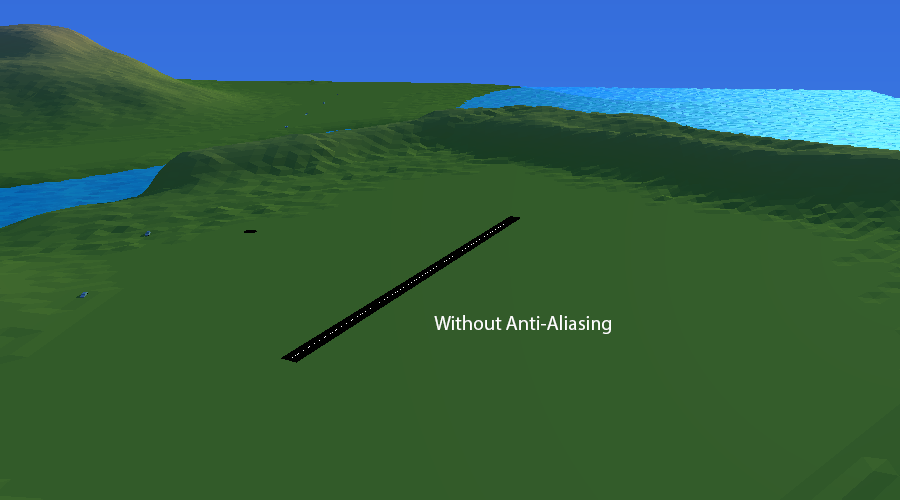
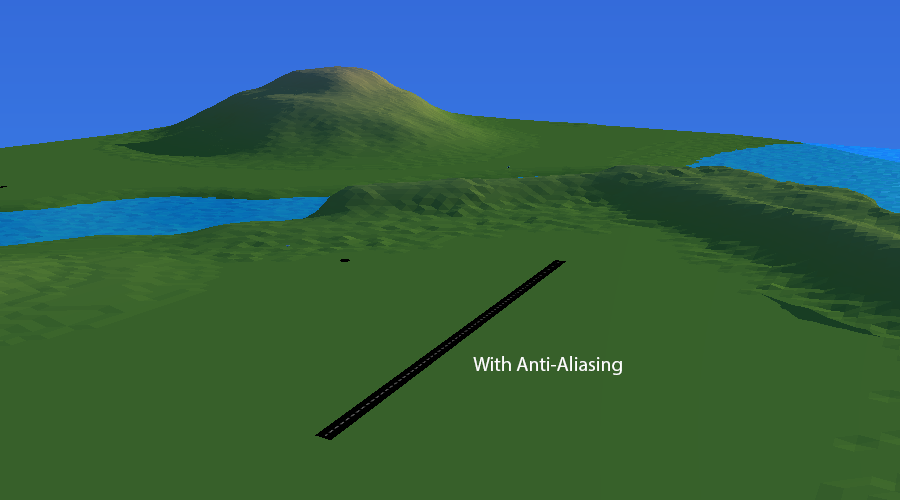
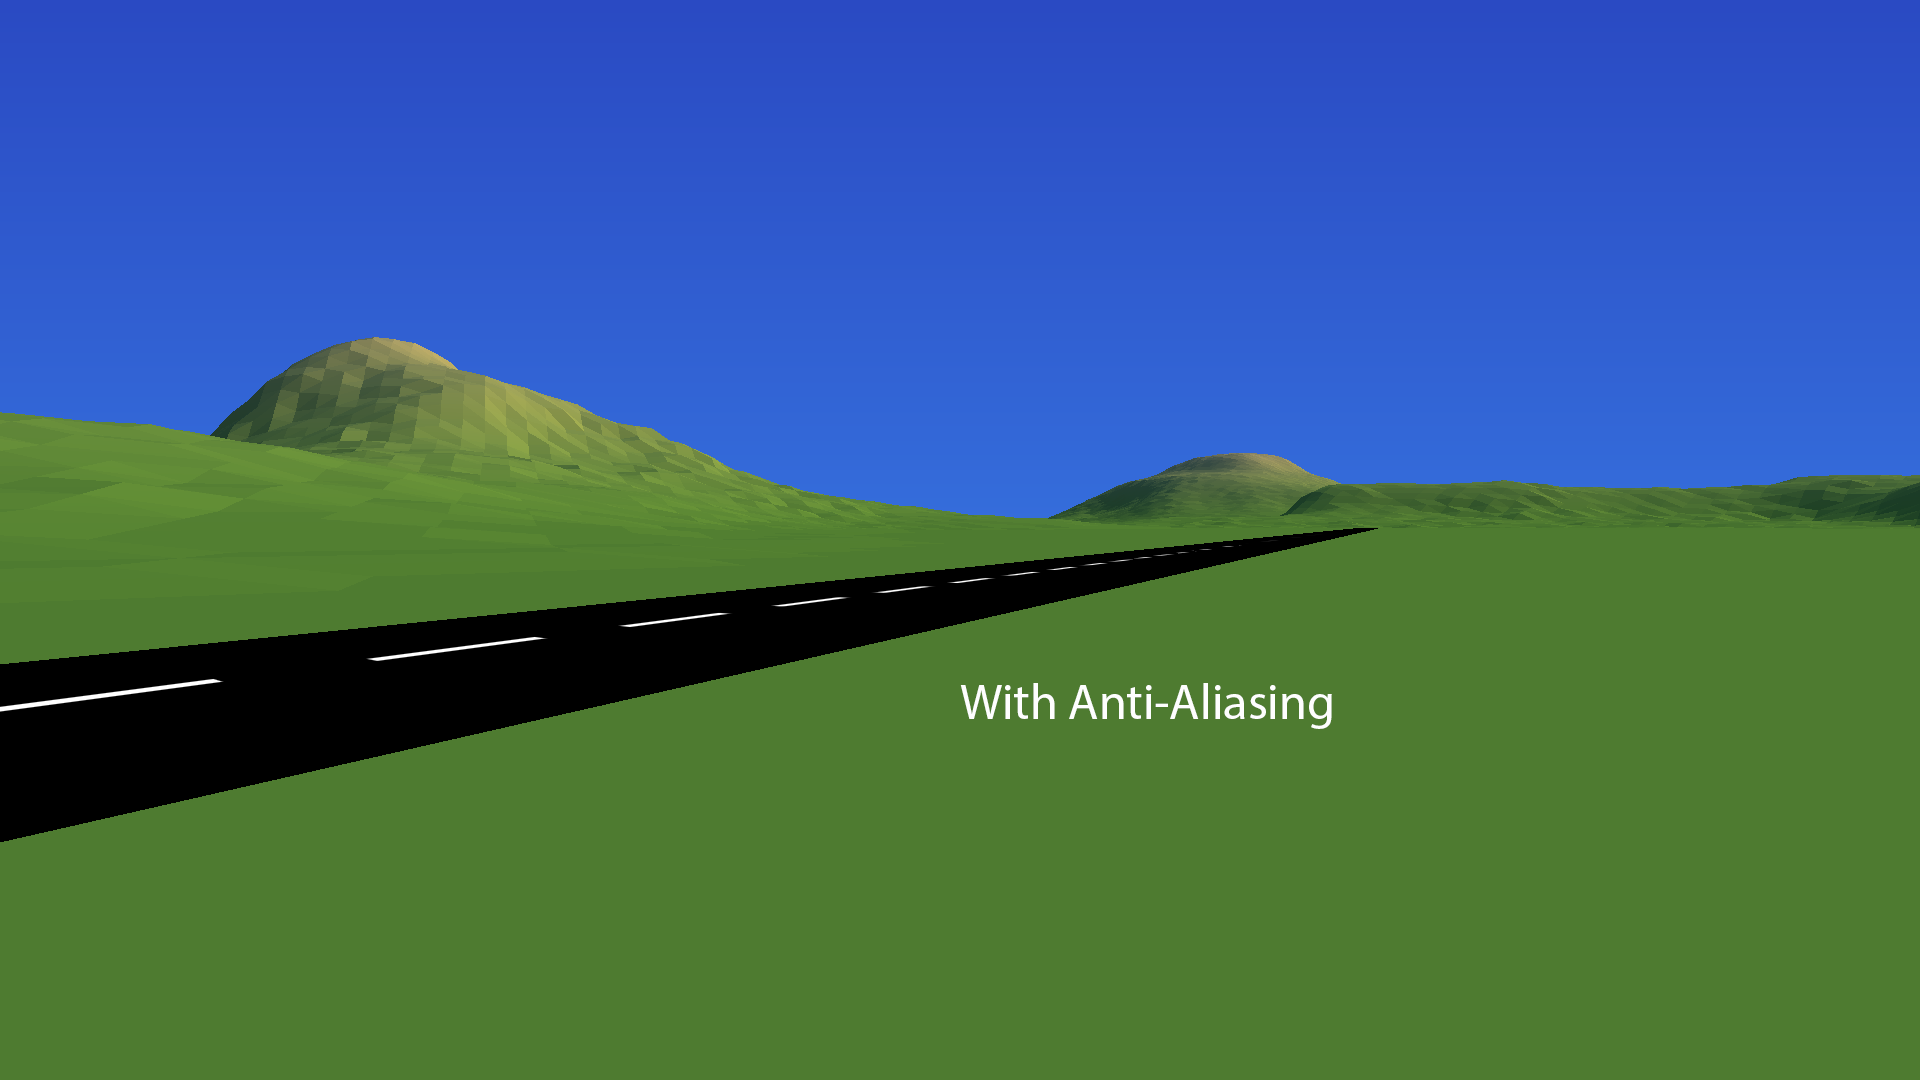
Now it was time to get the lane markings to look better at a distance. As I showed and explained in an earlier blog post there were quite severe aliasing issues with the lane markings that were rendered from the pixel shader. To solve this I added anti-aliasing for the road line shader using the integral of the line function and fwidth. This was a quite interesting thing to figure out. I had a guide from Nvidia to help me out in the process, you can find it on the link below.
Fast Filter-Width Estimates with Texture Maps
That article does a good job at explaining it so I will just make a very rough explanation of it here. The basic idea is that in order to get a result without aliasing we need the average value of the pixels around the pixel we want to render. With the use of fwidth which gives us the approximate width of the pixel in world space together with the integral of the function that describes our line, we can calculate that average value of the pixel and then get a result without aliasing artefacts. You can see a comparison below between no without anti-aliasing and with anti-aliasing.

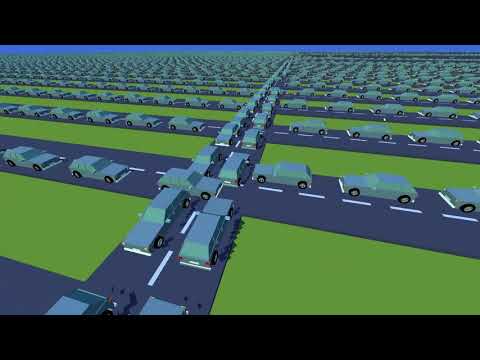
Then I made a performance test with 10 000 cars. The performance was not very good at this time, only around 30 fps with these 10 000 cars. I made an investigation that showed most of the time was due to the instance rendering. The quite high poly count of the car of around 3000 was not good for performance. Replacing the car with a cube model increased the fps to 110 which is better but still not good enough for the goals in the game of at least 100k and preferably over 1 million cars. When the cars start to fill up and get stuck so not many new cars spawn, the fps goes up to 280 which indicates that the most expensive thing except for rendering is the pathfinding when a car is spawned. This pathfinding algorithm has not yet been optimized, but it is also not a very good one. So a good one that is optimized might still take around the same time as this one. This is all with only 1 thread so multithreading could potentially increase the performance by a factor of up to 8 for a normal pc. On top of this the cars will not need their path straight away so I could easily have a limit on how many cars that gets to try to find a path at the same time. The video below shows the performance test with 10 000 cars.
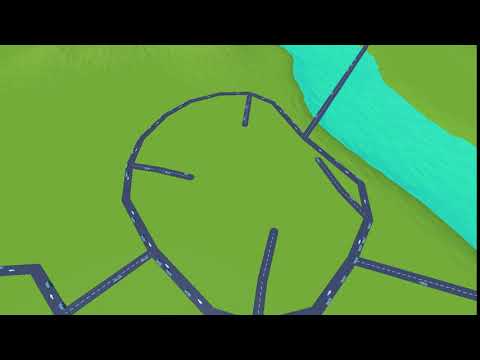
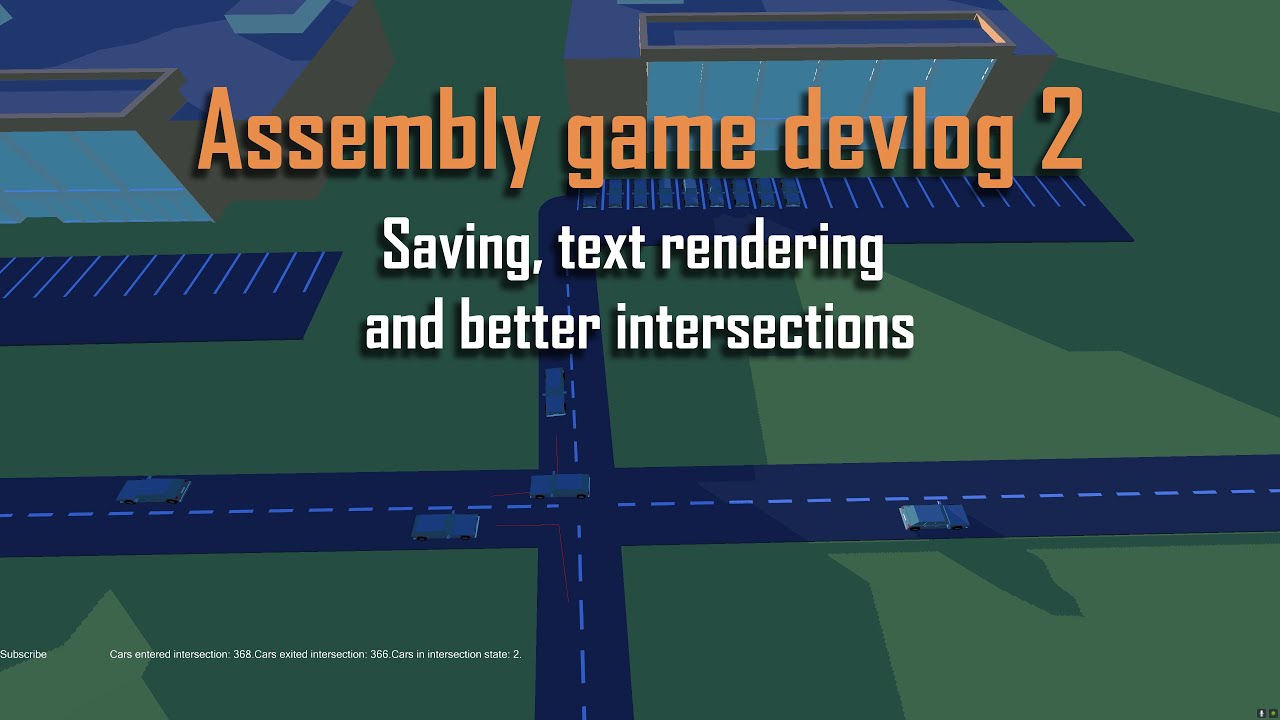
Then I added one-way roads. I just took the normal road and changed the lane marking lines to arrows. They are currently only one lane even though they look like they are two lane roads. These can be used to build something that functions similar to a round-about, but it is not as good as a proper round-about at the moment. The video below shows it in action
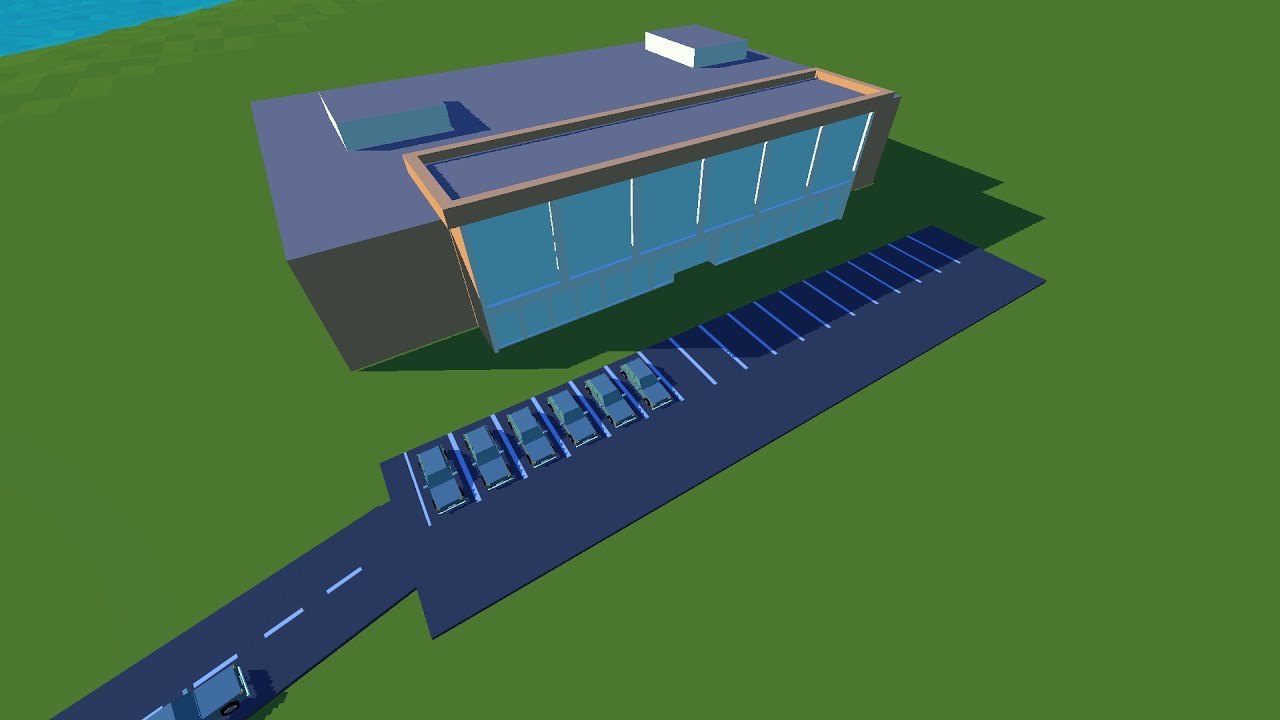
Next I started to work on parking lots. They are created the same way as roads at the moment and holds a number of parking spaces depending on the length. A car will stay parked for a random time simulating a visit to the mall.
Then I added the first version of mall modules. Each mall module gets its own node and if it is connected to any outside connection nodes it will spawn new cars at a set interval. It needs to be connected to a parking lot road for cars to be able to park there. Both the parking lots and the malls can be seen in the following video.
Next I made a first version of deletion of roads. The nodes are tricky to get right since I need to go through all connections and move indices around if I want to reuse old node indices. So for now I just waste any node id that has been deleted and will fix this later on when I know more about how I want other things that might be affected to work.
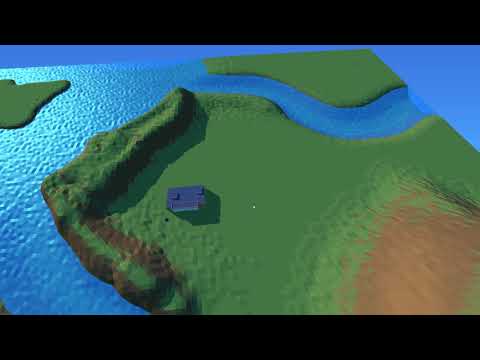
I also changed the terrain colour so it depends on the slope of the terrain instead of the height. If it is flat enough there will be grass otherwise it will be dirt. This makes the terrain feel much more natural. I will add other colours later to represent rock and sand.
Then I implemented a smooth zoom. Before the zoom would just jump to a new value for every step on the scrolling wheel which did not look or feel very nice. So now it smoothly transitions between the current value and the new value, it is very quick still to not make it feel unresponsive, but it still makes a huge difference. Both the new terrain colouring and the smooth zoom is shown in the video below. Make sure to watch it in at least 720p to get it in 60 fps since in 30 fps is not really enough for proper smooth zooming.
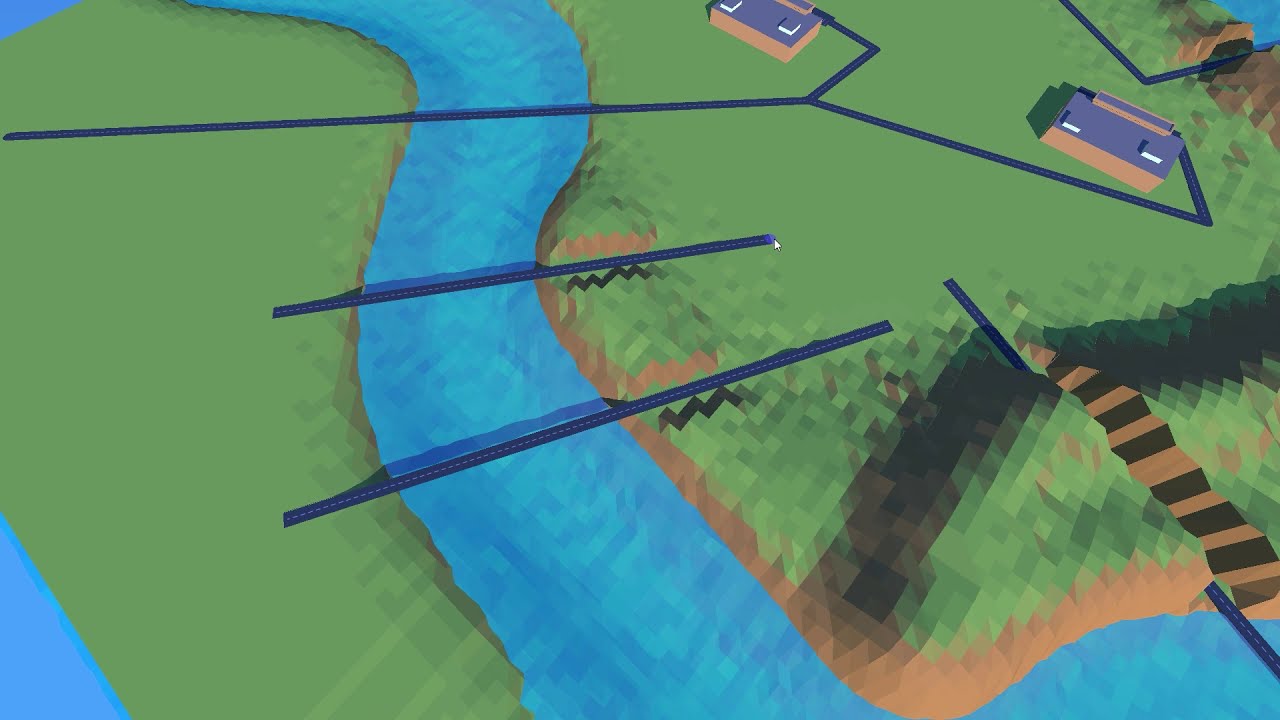
Next up I implemented terrain adjustment when roads are placed intersecting terrain. So when a road is placed I will go through all terrain vertices and find the ones that are close to the road to see if their height value is higher than the roads height value will be at that point. If the terrain is higher I simply set the height of that terrain vertex to the same as the road. Watch the video below to see how it looks.
I also implemented save functionality. It was very simple since all my data is just placed in static arrays and variables. So I just save all my data to a file in binary format in a specified order and then make sure to read the data when loading a save file in that same order. The game currently saves and loads automatically on start and exit from hard coded save file. I have yet to implement a version system for the save files, this will be needed of course to allow old save files to be loaded in newer game builds when new things have been added. I currently just have a version number saved in the save file and I think I will simply compare that to the version specified in the game build and then just skip any new parts during loading that the old version did not have. I show the code and explain it a bit in the devlog video below.
That was all for this post check out my Twitter or Youtube for more regular updates.